I’m building an open-source USB drive with a hidden self-destruct feature. Say goodbye to your data if you don’t lick your fingers before plugging it in. Its target customers are journalists in anti-privacy countries and security researchers.
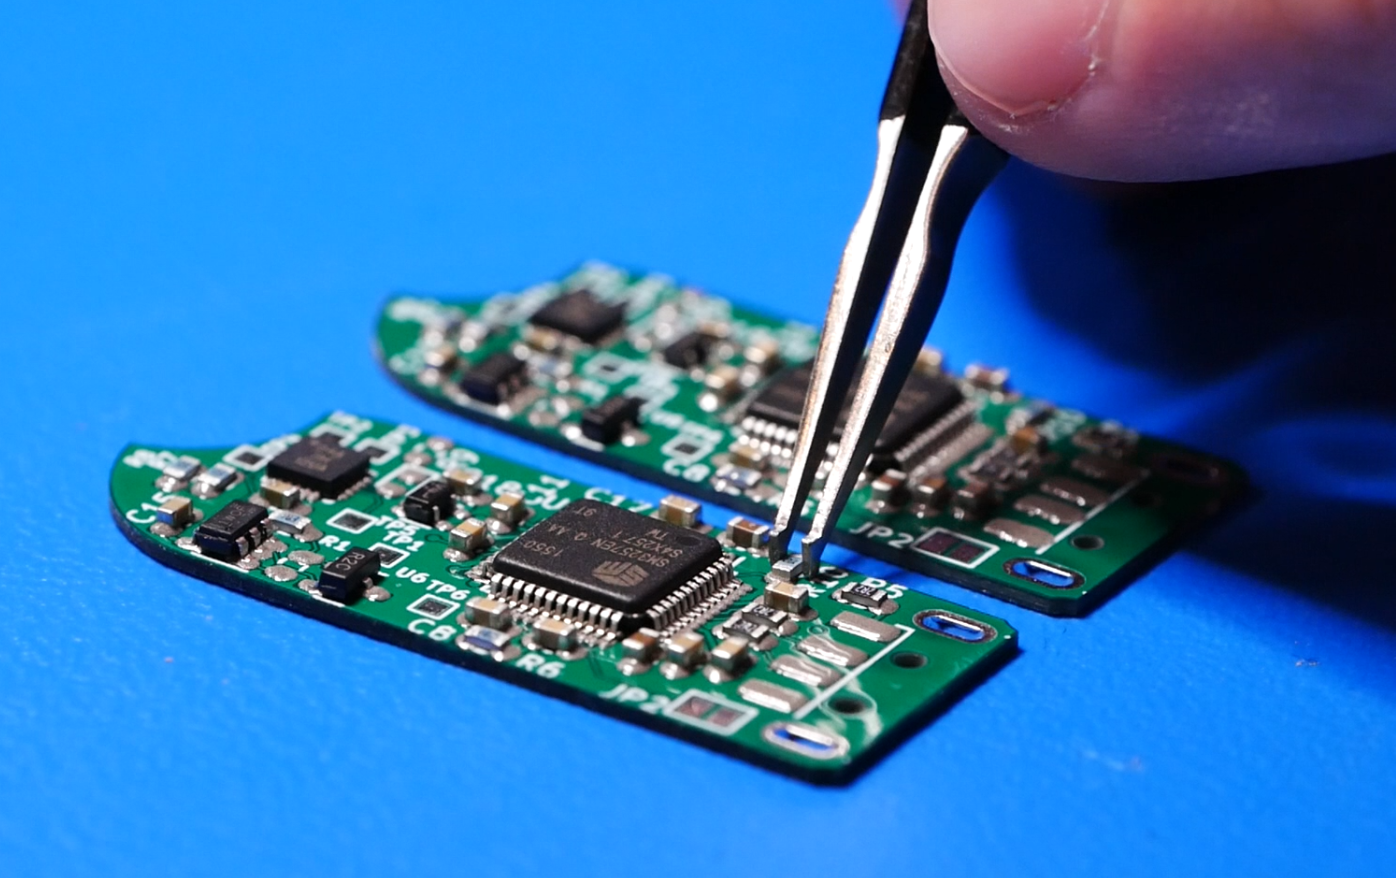
I ended my last post with the design finished and the boards on order. Once I received the boards I built them up. I used a reflow hotplate for the top, and heat gun for the bottom.
After plugging the device into my PC, the USB flash controller enumerated and seemed to be working. All three voltage rails came up and looked stable. The dmesg logs got past the USB driver, the usb-storage driver, the scsi driver, but errored out on the sd driver. This is the section of code where it was erroring out. Interestingly, the same message is produced when you plug in an sd card reader with no SD card. Here’s the error message:
1 | [1676446.082295] usb 3-1: new high-speed USB device number 16 using ehci-pci |
It looks like this so-called “block device” isn’t showing any blocks.
1 | [machinehum@whitebox photos]$ lsblk |
There could be a few different things going on at this point.
- The routing between the SM3257 (USB controller) and NAND flash is incorrect.
- Some configuration is necessary on the SM3257.
- Something else I’m missing.
Into the Jank
I started googling around for information on the SM3257EN (my USB controller IC). This led me to a Russian site with a download link for a “SMI MP Tool”. The download contains a Windows executable for working with the SM3257EN. I fired up a Windows 10 VM and got the GUI working, but the software failed to detect the drive. I messed around with this for when felt like ages. I had nearly given up about when the sortware might have been developed. I thought it was probably the Windows XP era. Miraculusly, switching to an XP VM actually worked: the software finally detected the drive.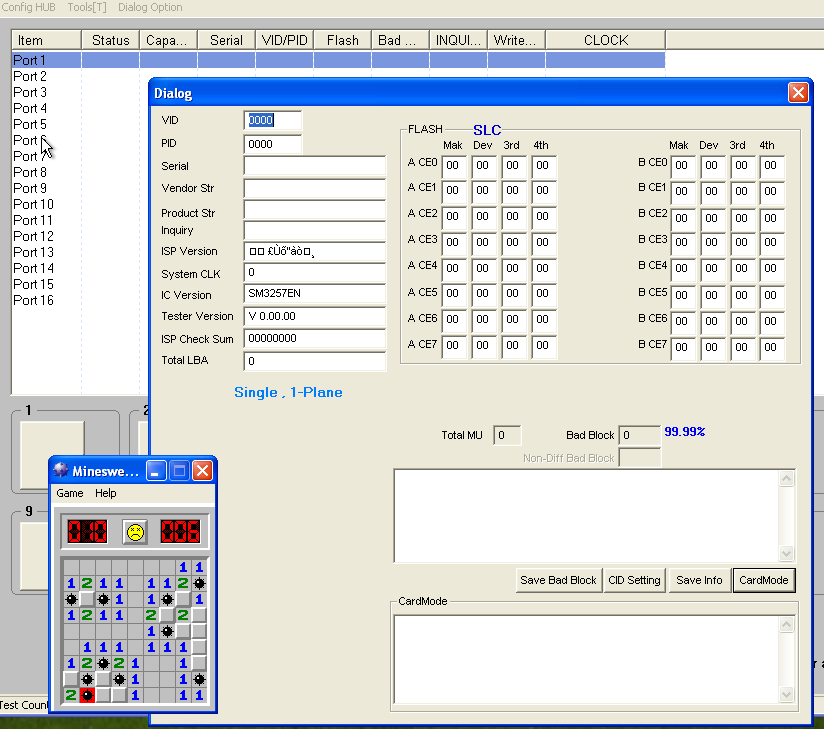
This is one of the many interfaces, don’t ask me what anything means.
At this point, I had zero documentation beyond the Russian comment section. I dedicated 30 minutes a day to “flash drive fuck around time” or FD-FAT, for short. I would fire up the Windows XP VM, press random buttons in the software and try to flash config files to the drive. I became utterly defeated and started wondering if this was even possible.
One day, I was in a FD-FAT session, pressing random buttons, when suddenly the GUI spat out, ISP can't be found!!. I googled this and ended up on the same Russian Site. From this webpage I found the “DYNA MPTool”. I downloaded this, hit the “Start” button, and somehow it provisioned the drive! I now had a 2GB flash drive I built from scratch! I have no idea how this worked, so don’t ask me.
Testing
I used a few test applications. I started with badblock, which tests for spaces in memory that don’t work. Badblock doesn’t care about filesystems or partitions. It looks at a block device, which is why you specify /dev/sdf over a partition. It simply writes known data test patterns to the memory and reads them back.
1 | [machinehum@whitebox ~]$ sudo badblocks -w -s -o error.log /dev/sdf |
With this working, I moved over to f3, which is partition aware. It works with files rather than raw memory blocks. These files are a pseudorandom bit sequence rather than a test pattern. It can then verify the data written and verify the speed.
1 | [machinehum@whitebox ~]$ sudo f3write mnt/ |
Definitely not the fasted drive on the market, but it looks to be working. At this point, I’m thrilled. Time to blow it up!
Inhibit Circuity
I then flew some wires to the programming pads of the microcontroller. I probably won’t go for a USB bootloader, but I’ll need a better programming method in the future.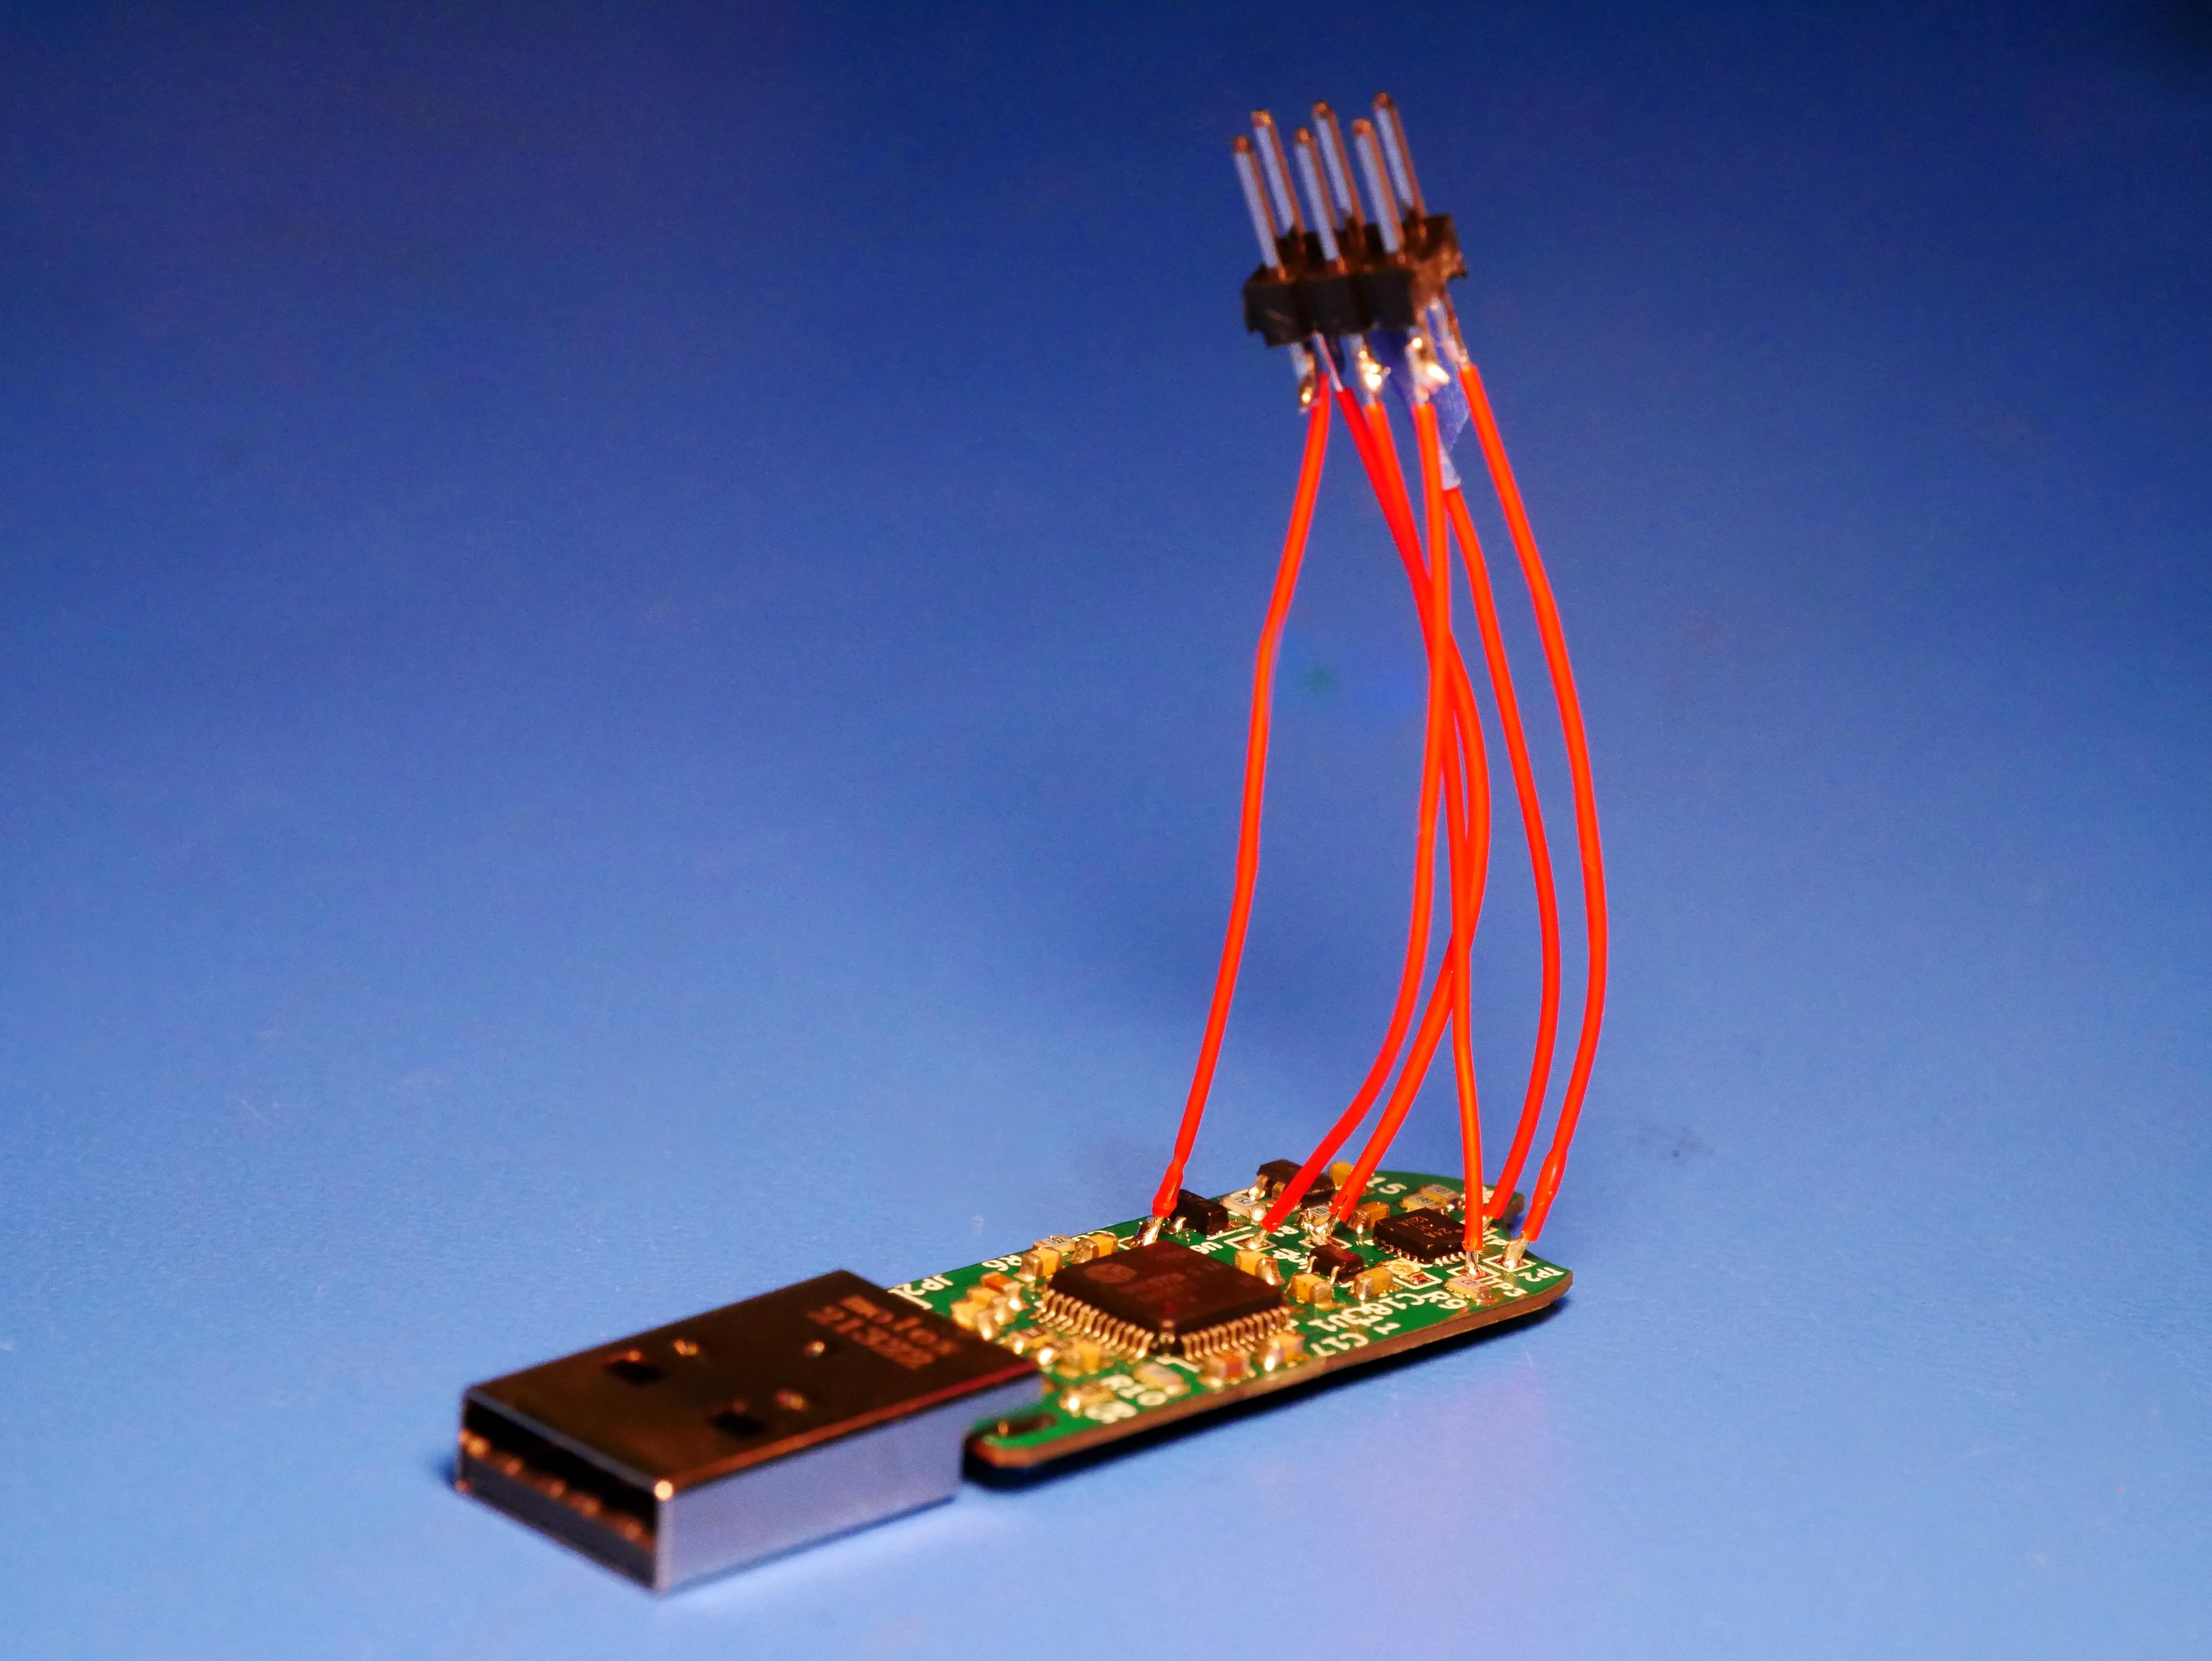
In the last post I explained how the flash memory’s chip select line is “or’d” with a pin from the microcontroller. This can be used to inhibit the flash. I tested this out, and it worked beautifully. When you try to mount the device, the mount command hangs for 20 seconds, then dmesg spits this out:
1 | [3064125.755814] usb 3-1: reset high-speed USB device number 84 using ehci-pci |
This functionality is suitable for actors who might not want their drive to self-destruct but instead appear as a corrupted or broken drive.
Destruction Circuitry
Finally, we’re getting to the good part. Recall the destruction circuit from the previous post.
In this circuit C1, C2, D1, and D2 form a voltage doubler. When Distruct_PWM is 0V, C1 will charge to 5V. When Distruct_PWM goes high, the potential across C1 will go to 10V because voltages in series add. This forces current through D2 and will eventually charge C2 to 10V. When I want to kill the flash, I can enable Q1 via Kill_switch and short 10V to 3.3V.
I started with the original circuitry, which didn’t produce any smoke. However, when I reran our trusty f3read I got this.
1 | [machinehum@whitebox ~]$ sudo f3read mnt/ |
A lot of the data was intact, but 250MB was corrupted! I upgraded C2 from a 22uF to 122uF via electrolytic in parallel. I could fit 100uF on the board with two 47uF in parallel, but this is all I had lying around. I was paranoid about damaging my PC, so I powered the device with a bench supply.
I then repeated my experiment.
After testing the destruction circuit I plugged the drive into my PC. No partition, no block device, no dmesg logs, nothing. It looks like the USB controller IC was fried. To further analyse the damage, I replaced that USB controller IC. The new chip still couldn’t recognize the NAND flash. I think it’s fair to say she’s dead, Jim.
What’s next?

It’s been quite a long process, but I’m thrilled to say I’ve built the first spit-detecting, self-destructing flash drive. If you’re interested in following this project, my socials are below. I’m also planning to do a beta deployment of these devices soon, if this is something you might use, please reach out! I would love to hear your story.
I also have YouTube content, which can be considered part 2.5 of the series.